|
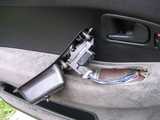
Remove Doorpull:
After removing the screw from the base of the doorpull, lift the bucket (and power window mechanism if equiped) out of the door panel.
|
|
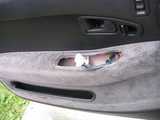
Unplug Doorpull:
Unplug the doorpull if your car has power windows. There is a tab you need
to push on the plug to unlock it from the socket.
|
|
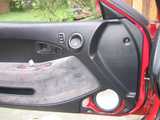
Remove screw under mirror:
Remove the vinyl screw located underneath the side view mirror.
|
|
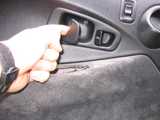
Unscrew the door handle:
Behind the door handle is a screw that attaches the back plate of the door handle to the door. The lever and locking tab will remain attached to the door, butthe plate will slide out (it is a bit like a puzzle, but it does fit over the handle).
|
|
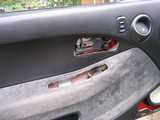
Ready to be popped off: This is how the door looks before you are ready to pop the nine plastic clips. It sounds scary, but once you see it after it is removed, you'll understand why there was really no reason to worry about that noise.
|
|
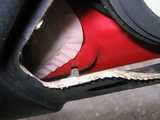
Up-pop the clips:
There are nine plastic clips like the grey one shown here that fasten the door panel to the metal door frame. They make a scary popping noise, but pulling them hard will pop them out and release the door panel from the metal frame.
|
|
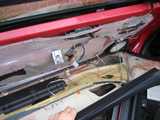
Gently remove the panel:
Once all the screws are removed and the nine clips are popped, the only thing
holding the panel on is the ledge that you rest your arm on when you are cruising with the windows down. You should be able to lift it up and off, but I had to lif
t mine and slide it backwards to get the panel out from under the plastic piece
on the back of the side view mirror. Once the panel is free, you will probably n
eed to unplug the door lock wire from its harness so you can set the panel
on the ground.
|
|
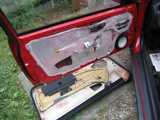
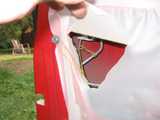
Free at last!
Here is the door with the panel completely removed. The white plastic is some
sort of water barrier. It is attached with a white goo that reminds me of the st
uff you use to hang up posters. If you need to get under that, it can be gently
peeled off. Mine had holes in it already, so I just sliced new holes where I nee
ded to access the inner workings.
|
|
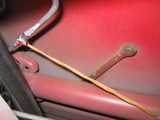
First try:
The rod that connects my outside door handle to the door latch rattled when I pl
ayed my music loudly. So I rigged this rubber back contraption to apply tension
to the rod so it would not rattle. It worked like a charm until I opened my wind
ow and the glass sliced through the rubber band. D'OH!
|
|
Second try:
After realizing I cannot break the plane of the window, my next effort was to at
tache the rubber band to the side impact bar on the door, then attach it to the
rattling rod with a twist tie (or tin tie). This did not work as well as the fir
st try, but it allows the window to still open.
|
|
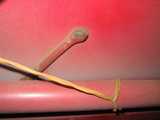
Close up:
The other end of the rubber band attached to the side impact beam.
|
|
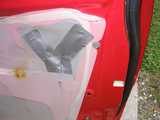
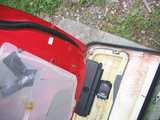
Patched the hole:
I patched the hole in the plastic cover, just in case...
|
|
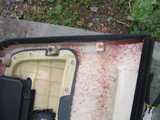
Beware of the clips!
Notice that some of the clips stayed in the door, while some stayed in the panel
. You will need to make sure all the clips are connected to the panel before you
can re-attach the panel properly.
|
|
Close up:
Here is a close up of one of the missing clips. It is still stuck in the hole in
the door, and can be removed with pliers (gently) or a putty knife.
|


